Loading...
Style guides, outfit breakdowns, and deals — curated weekly for the modern Pakistani man.
12,000+ subscribers · No spam · Unsubscribe anytime
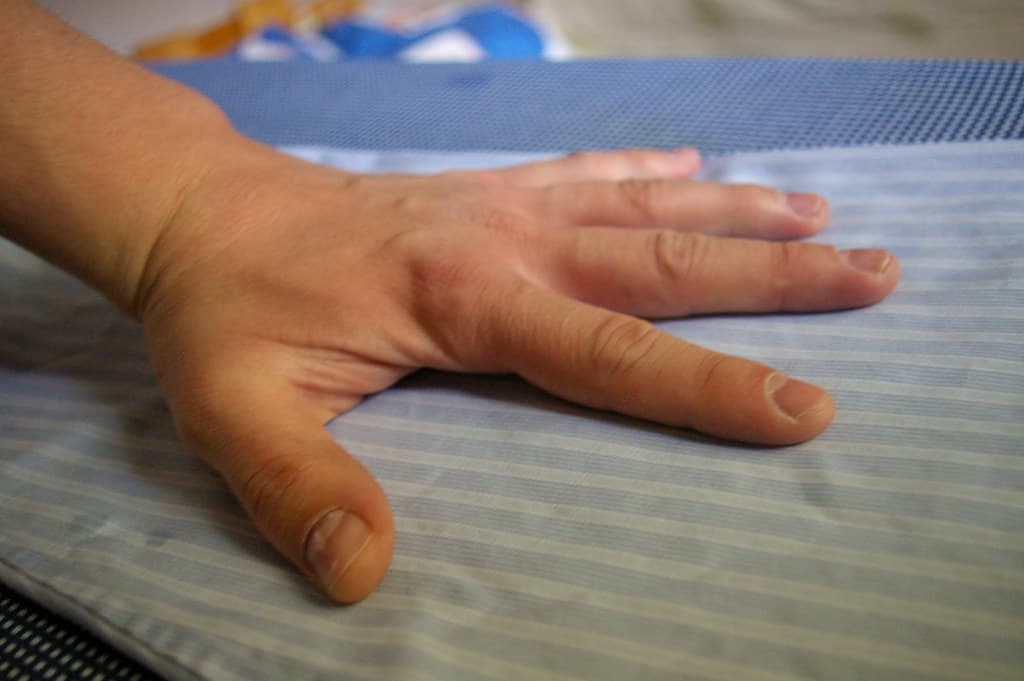
A wrinkled dress shirt makes a good suit look cheap. A crisp one makes an off-the-rack shirt look tailored. The difference is five minutes and the right sequence.
A wrinkled dress shirt makes a good suit look cheap. A crisp one makes an off-the-rack shirt look tailored. The difference is five minutes and the right sequence.
Most men were never taught the order. They iron around buttons, drag the iron across the fabric, and wonder why creases return before they leave the house. This guide fixes that.
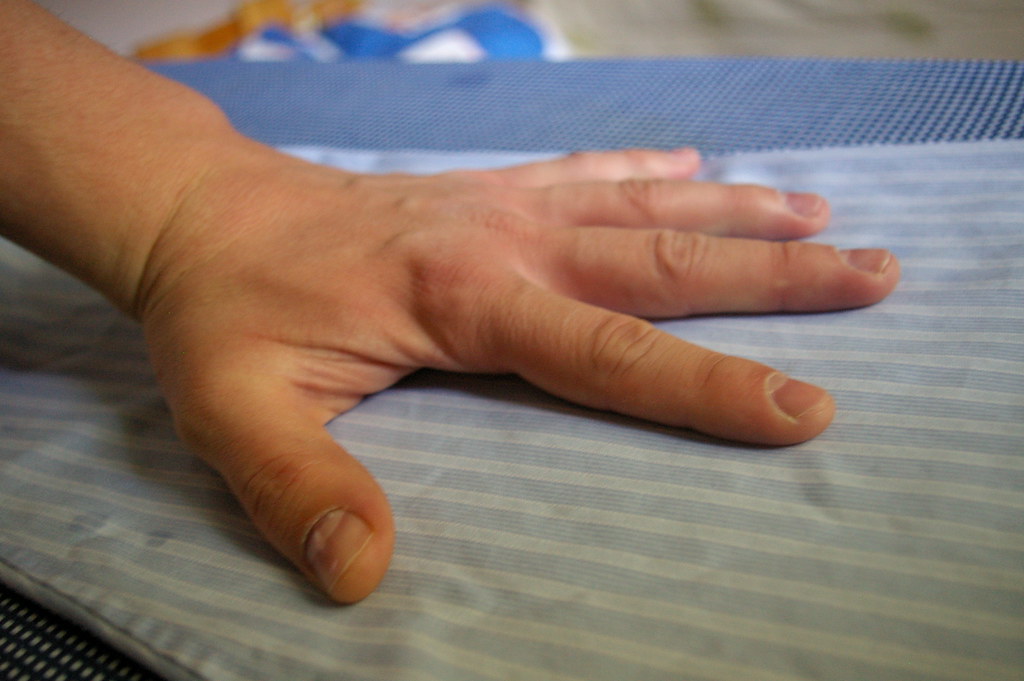
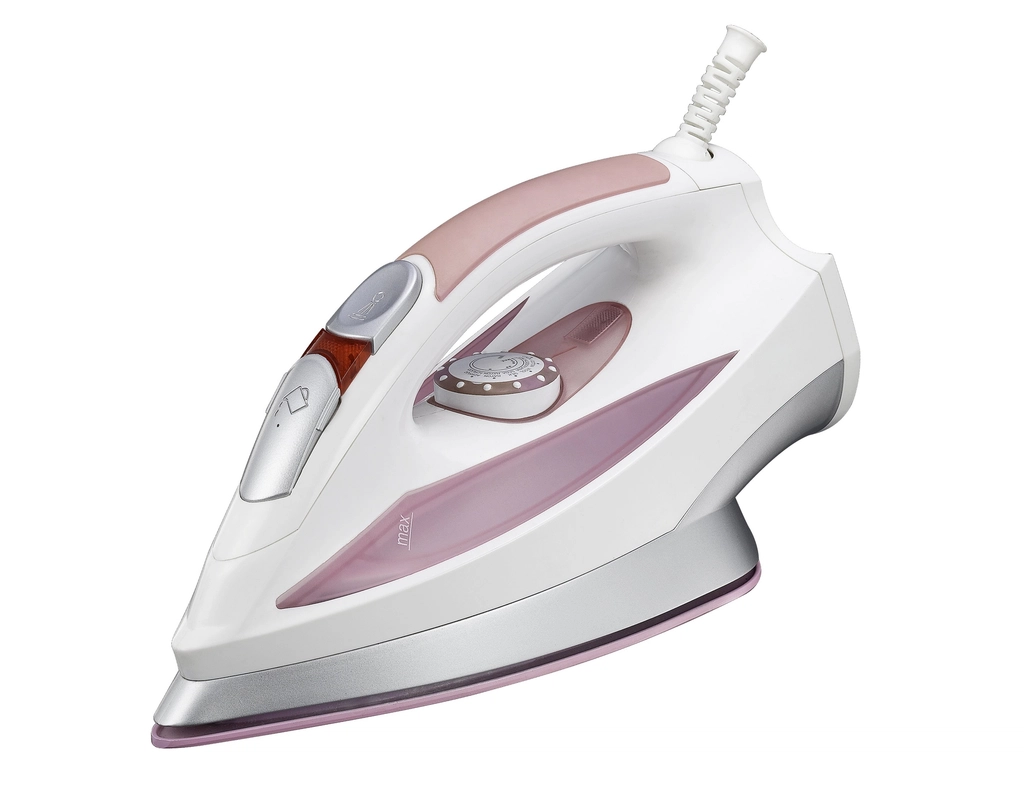
The order matters. Each step builds on the last. Skip one and you re-wrinkle what you just pressed.
Lay the collar flat on the board. Iron from the outside edges toward the centre. Never iron over buttons — they melt, leave marks, and create hard creases you cannot remove.
Press. Lift. Move. Do not drag. Dragging stretches the fabric and pulls the weave off-grain.
Iron the inside of the cuff first, then the outside. Work around the buttons. The cuff sets the sleeve width — if it puckers here, the whole sleeve looks wrong.
Slip the shirt over the narrow end of the board so one shoulder sits flat. Iron from the sleeve seam toward the centre back. Rotate and do the other side. The yoke frames your shoulders — a crease here sits visibly across your upper back all day.
Lay the sleeve flat with the cuff button facing up. The crease must run straight from the cuff centre to the shoulder seam. Iron from cuff to shoulder in sections. Press, lift, move. Do not iron over the buttons.
If you get a hard crease on the sleeve edge, you pressed too hard or dragged. A dress shirt sleeve should have a soft roll, not a razor line.
Pro tip: For the cleanest sleeve, iron the top half (near shoulder) first, then the bottom half. This prevents the fabric from bunching at the elbow.
Slip the front panel over the board. Work around the placket and pockets. Iron the back panel in one go — centre outward. Finish with the other front.
A properly ironed shirt shows:
Test it: Put the shirt on. Move your arms. Sit down. The fabric should move with you, not pull or pucker at the shoulders or chest. If it does, the yoke or sleeve crease needs another pass.
Related: How Should a Dress Shirt Fit? — the fit checks that tell you if the shirt itself is the problem, not your ironing.
Do not stuff it in a drawer hot. The residual heat sets new wrinkles in the folded creases.
| Mistake | Why it fails | Fix |
|---|---|---|
| Ironing over buttons | Melts plastic, leaves marks, hard creases | Iron around them |
| Dragging the iron | Stretches fabric, pulls grain | Press, lift, move |
| Wrong heat setting | Scorches or does nothing | Check label; test inside hem |
| Skipping steam | Cotton fibres stay locked in wrinkles | Use steam; fill fresh water |
| Storing while warm | Sets new folds | Cool 5 minutes on hanger first |
| Ironing a dirty shirt | Heat sets stains permanently | Wash or spot-clean first |
| Ignoring the placket | Buttons pull, fabric puckers | Iron around placket, not over it |
| Rushing the sleeves | Creates hard crease at elbow | Iron in sections, top half first |
| Step | Area | Key rule |
|---|---|---|
| 1 | Collar | Flat, edges to centre, no buttons |
| 2 | Cuffs | Inside then outside, around buttons |
| 3 | Yoke | One shoulder at a time, seam to centre |
| 4 | Sleeves | Cuff to shoulder, straight crease, soft roll |
| 5 | Fronts/Back | Placket last, centre outward |
Save this guide. Next time you pull a shirt from the dryer, you will know exactly what to do — and your shirts will look like they came from a better tailor.
Want the same breakdown for trousers, knitwear, or wool? Drop a comment and we will cover it next.